Hey there, fellow digital crafters! If you’re anything like me, you love creating stunning digital designs. Whether it’s eye-catching social media posts, captivating blog graphics, or personalized invitations, Canva has been a game-changer in the art of crafting. Today, I’m here to share my 6 favorite Canva features that have transformed my designs.
What’s the Magic Grab Tool, and Why Is It So Magical?
Ah, the Magic Grab Tool – it’s like a digital crafting wand! Have you ever wondered how to perfectly extract an object from one image and place it seamlessly into another? The Magic Grab Tool is the answer. It allows you to select and move objects with precision. No more tedious manual selection – this feature does the heavy lifting, making your creations look flawless.
How To Use Canva’s Magic Grab Tool:
Step 1: Open Your Canva Design
Start by opening your Canva design project. Whether it’s a social media post, a flyer, or any other graphic, make sure your canvas is ready for some creative wizardry.
Step 2: Add or Select an Object
To use the Magic Grab Tool, you need an object on your canvas. You can add an image or shape from Canva’s Elements library, or you can select an existing element on your design. The Magic Grab Tool works best when you want to move an object within your design or remove it from the background.


Step 3: Access the Magic Grab Tool
Click edit photo > which will then show an Fx Effects menu, the magic studio menu is at the top of the sidebar to the left. Within this menu, you’ll see the “Magic Grab” option. Click on “Magic Grab” to activate the tool.
Step 4: Select the Object
After activating the Magic Grab Tool, click on the object you want to move or manipulate. The tool will automatically identify and select the object, creating a bounding box around it. This selection is remarkably accurate, and it’s one of the reasons why the Magic Grab Tool is so beloved among Canva users.
Step 5: Move the Object
With your object selected, you can now move it around your canvas. Click and drag the selected object to your desired location. The Magic Grab Tool ensures that the object seamlessly blends into its new position, making it look as if it was there all along.

Step 6: Undo and Redo
Don’t worry if you make a mistake; Canva allows you to undo and redo your actions. You can use the Ctrl+Z (Command+Z on Mac) shortcut to undo, and Ctrl+Shift+Z (Command+Shift+Z on Mac) to redo.
Step 7: Save Your Design
Before you finalize your design, make sure to save your project. Canva usually auto-saves, but it’s always a good practice to manually save your work.
And there you have it, using Canva’s Magic Grab Tool to effortlessly move and manipulate objects in your designs. This tool is perfect for when you want to reposition elements, swap backgrounds, or create captivating collages.
The Power of Free Fonts: How Do They Elevate Your Designs?
Fonts go beyond just being text; they’re an integral part of your design’s visual identity. Think of them as the clothing your words wear. Depending on the font you choose, your design can appear elegant, playful, formal, or casual. They have the potential to convey personality and evoke emotions.
One of the great things about Canva is that it encourages creativity. You’re not limited to using fonts as they are. You can also customize fonts to suit your design. Change the color, size, spacing, and even apply effects like shadow or outline to make your text truly unique.
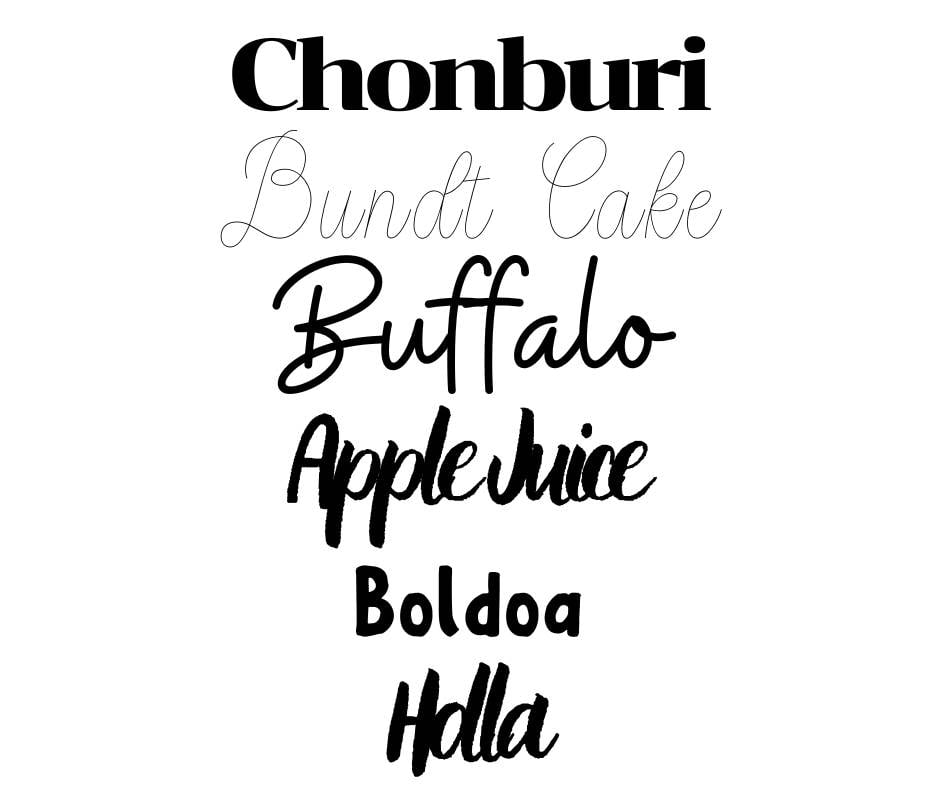
Experiment with different fonts and styles, and let your intuition guide you. Your favorite fonts, like “Chonburi,” “Buffalo,” “Boldoa,” “Apple Juice,” “Holla,” and “Bundt Cake,” are just a starting point. Canva’s font library is a treasure trove of possibilities waiting for your creative touch
Removing Backgrounds with Ease: The Background Remover Tool
Now, let’s get real for a moment. If you’ve ever attempted background removal in traditional design software, you know the frustration all too well. It’s like trying to solve a complex puzzle blindfolded. Manual selections, erasing, zooming in and out endlessly, and the constant fear of messing it all up – it’s enough to make even the most patient of us throw our hands up in despair.
But fear not, because Canva’s Background Remover Tool is here to the rescue. It’s like a magic wand that takes away all your design woes, especially when you want to focus on your subject and make it shine, whether you’re creating a personalized profile picture that truly represents you or crafting a product image that jumps off the screen.
How to Use Canva’s Background Remover Tool
Select the Object: Click on the object you want to edit. The Background Remover Tool will work its magic on this selected object.
Access the Tool: Click on the photo you want to remove the background from, then click the remove background option
Wait for the Magic: Canva’s Background Remover Tool takes a moment to analyze your image. Be patient, and it will automatically remove the background, leaving you with your subject intact. It’s like having a dedicated digital assistant!


Why I Love It
I can’t emphasize enough how much this tool has changed the way I design. It’s the ultimate time-saver, and it makes complex tasks a breeze. Whether I’m working on a blog post graphic, creating product images for my small business, or just having fun crafting a personalized avatar for my social media profiles, the Background Remover Tool has got my back.
No more tedious, time-consuming background removal. No more frustration. No more feeling limited by your design skills. Canva has taken this challenging task and turned it into something accessible and enjoyable. Now, I can focus on the creative aspects of my projects, knowing that the background removal is as easy as a few clicks.
Elevate Your Designs with Elements: What Are They and How to Use Them
You might be wondering, “What exactly are these mysterious ‘Elements’?” Well, they’re the secret ingredients that make your designs pop. Think of them as the building blocks of your creative vision. Elements in Canva include icons, illustrations, stickers, lines, shapes, and so much more. They’re like the colorful palette on an artist’s easel, waiting for you to dip your creative brush into and bring your ideas to life.
How to Access Elements in Canva
Step 1: Open Your Canva Design: Start by opening your Canva project, whether it’s a social media post, flyer, or any other creative endeavor.
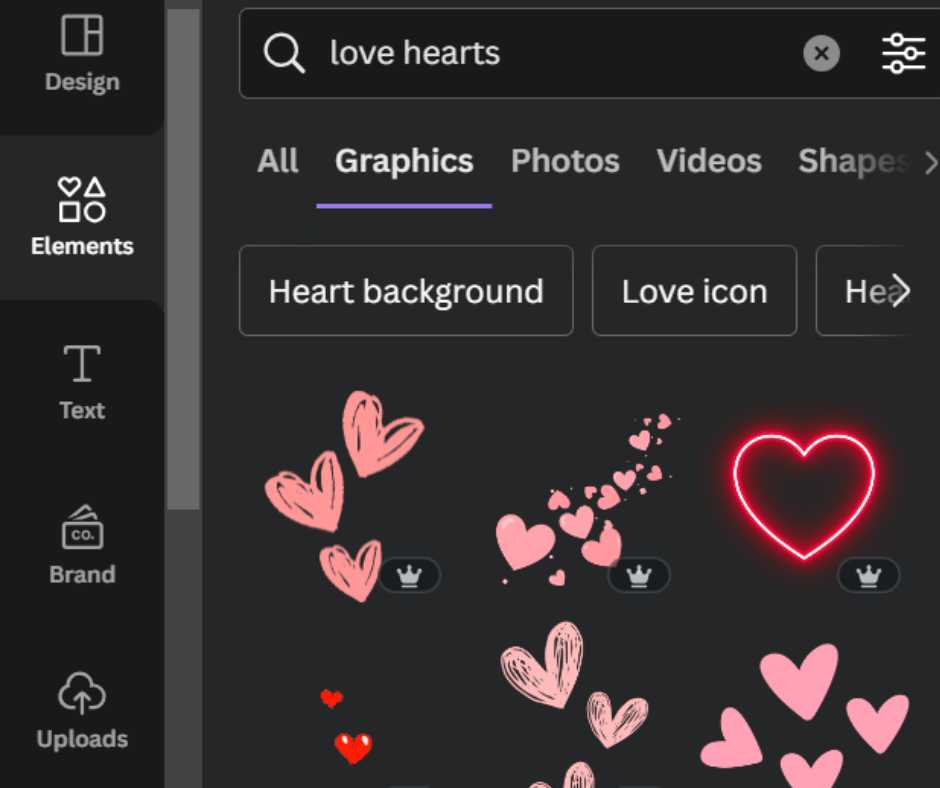
Step 2: Click on “Elements”: In the left-hand sidebar, you’ll find the “Elements” tab. Click on it, and a world of possibilities will unfold before your eyes.
Step 3: Explore and Search: You can explore elements by category or use the search bar to find specific ones. Canva’s library is vast and covers virtually any theme or style you can imagine.
Step 4: Drag and Drop: Once you’ve found the perfect element, simply click on it and drag it onto your canvas. Resize, recolor, and arrange it to suit your design vision. You’re in the driver’s seat, and your creativity is the fuel that powers this artistic journey.
Why I Love Canva’s Elements
What makes Canva’s Elements so special? Well, as a digital crafter, I’ve fallen head over heels for them, and here’s why:
Endless Creativity: Canva’s Elements allow me to experiment endlessly. They’re like a never-ending source of inspiration. If I’m working on a gardening blog post, I can add botanical illustrations to make it bloom. Crafting a birthday card? There are stickers and icons that add a delightful touch. The options are limited only by my imagination.
Effortless Customization: The Elements are not set in stone; they’re incredibly flexible. I can change their colors, adjust their size, and layer them to create unique compositions. It’s the flexibility I’ve always wanted in my creative toolkit.
Consistency and Cohesion: Whether I’m working on a series of social media posts or designing the branding for my small business, Elements help me maintain consistency and cohesion across my projects. It’s like having a signature style at my fingertips.
Save Time and Effort: The best part is, these Elements save me time and effort. Instead of creating intricate illustrations from scratch, I can grab a ready-made icon or sticker and focus on the bigger picture of my design.
Free and Premium Options: Canva offers a wide selection of free Elements, and there are premium options available if you’re looking for that extra level of detail and uniqueness. Whether you’re on a budget or willing to invest a little, there’s something for everyone.
Design Like a Pro with the Canva Mockup App
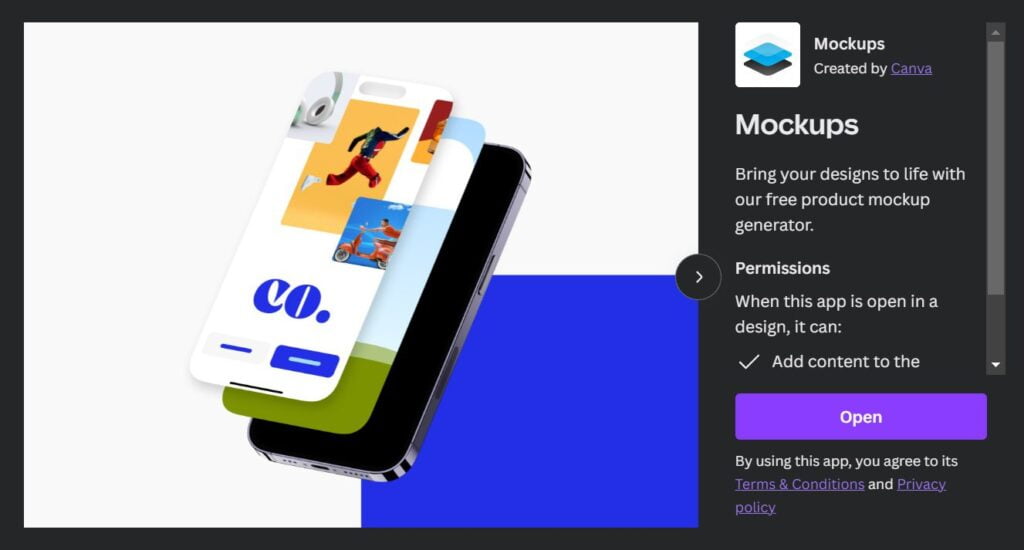
Have you ever wondered how your design would look in real-life scenarios? The Canva Mockup App lets you visualize your creations on various products, from T-shirts to mugs, making your digital crafts even more tangible. Learn how to use this feature to create compelling mockups for your projects.
Step 1: Access Canva Mockup App
Start by opening your Canva design project in your browser, whether it’s a product label, a T-shirt design, or any other creation you want to see in action.
Step 2: Click on the “Mockups” Tab
In the left-hand sidebar of your Canva workspace, you’ll find the “Mockups” tab in the Canva Apps. Click on it to access the Canva Mockup App.
Step 3: Choose a Mockup Template
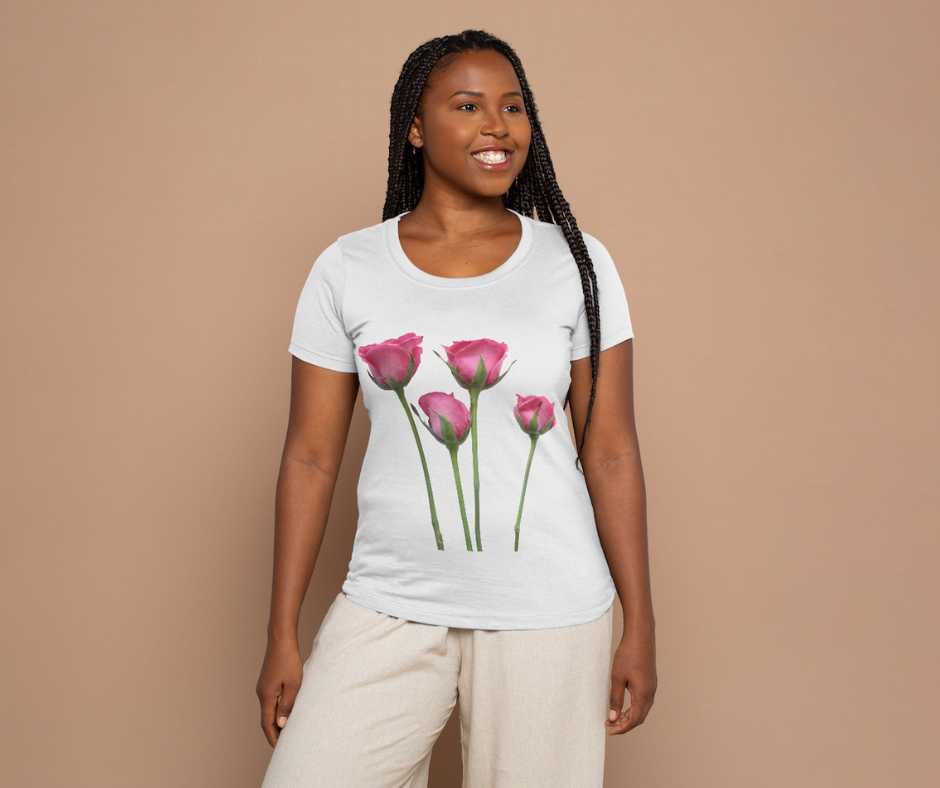
Once you’re inside the Mockup App, you’ll see a library of mockup templates to choose from. These templates are designed to fit specific products like T-shirts, phone cases, posters, and more. Select the template that matches the product you want to visualize your design on.
Step 4: Upload Your Design
After selecting a mockup template, you’ll be prompted to upload your design. Click on the designated area to upload your image or design file. Make sure the design you upload is a high-resolution file to ensure it looks crisp and clear on the final mockup.
Step 5: Position and Scale Your Design
Once your design is uploaded, you can position and scale it to fit the mockup template. Drag and resize your design to make it look just the way you want. You can also rotate the design to ensure it aligns perfectly with the mockup.
The Template Gallery: Your Treasure Trove of Inspiration
Staring at a blank canvas can be daunting, right? That’s where the Template Gallery swoops in to save the day. Whether you’re new to design or just looking for fresh inspiration, the gallery offers an array of templates that can kickstart your creative journey. I’ll guide you through finding and customizing the perfect template for your needs.
Step 1: Go to the top menu bar on the Canva home page and click design spotlight and click on the design style you would like for example collages.

Step 2: Browse the most popular designs either for inspiration or re-create your own design using the templates.
FAQs: Your Burning Questions Answered
Is Canva free to use?
Absolutely, Canva offers a free version with a wide range of features, including the ones we’re discussing today. You can create amazing designs without spending a dime!
Are the free fonts in Canva limited?
No, there’s a generous selection of free fonts in Canva. While there are premium options, the free fonts provide plenty of variety for most projects.
Can the Background Remover Tool handle complex backgrounds?
The Background Remover Tool is quite powerful, but for very complex backgrounds, you might need to make some manual adjustments.
Unleash Your Creative Potential with Canva
There you have it, my fellow digital crafters – 6 incredible Canva features that have turned my designs from ordinary to extraordinary. From the Magic Grab Tool’s precision to the boundless inspiration found in the Template Gallery, Canva has truly unlocked my creative potential.
So, are you ready to take your digital crafts to the next level? Explore the magic grab tool, free fonts, background remover, elements, mockup app, and the template gallery in Canva. These features are your digital crafting arsenal, and with a little practice and imagination, your designs will stand out from the crowd.
Let’s continue this creative journey together. Share your favorite Canva features or your experiences with the ones I’ve highlighted. Together, we can inspire and uplift the digital crafting community!
Now, go forth and create your digital masterpieces with Canva – your canvas of limitless possibilities. Happy crafting!
?Stay Organized All Year Round with Free Canva 2024 Calendar Template